Sentinel-Hub Configuration Utility Overview
The Sentinel Hub API is a RESTful API interface to various satellite imagery archives. It provides access to raw satellite data, rendered images, statistical analysis and much more.
CODE-DE repository needs the following configuration in order to have access. Please log in to sentinel-hub.
Log in with CODE-DE credentials:

Collection Tiles
Navigate to the “Bring your own COG” tab:
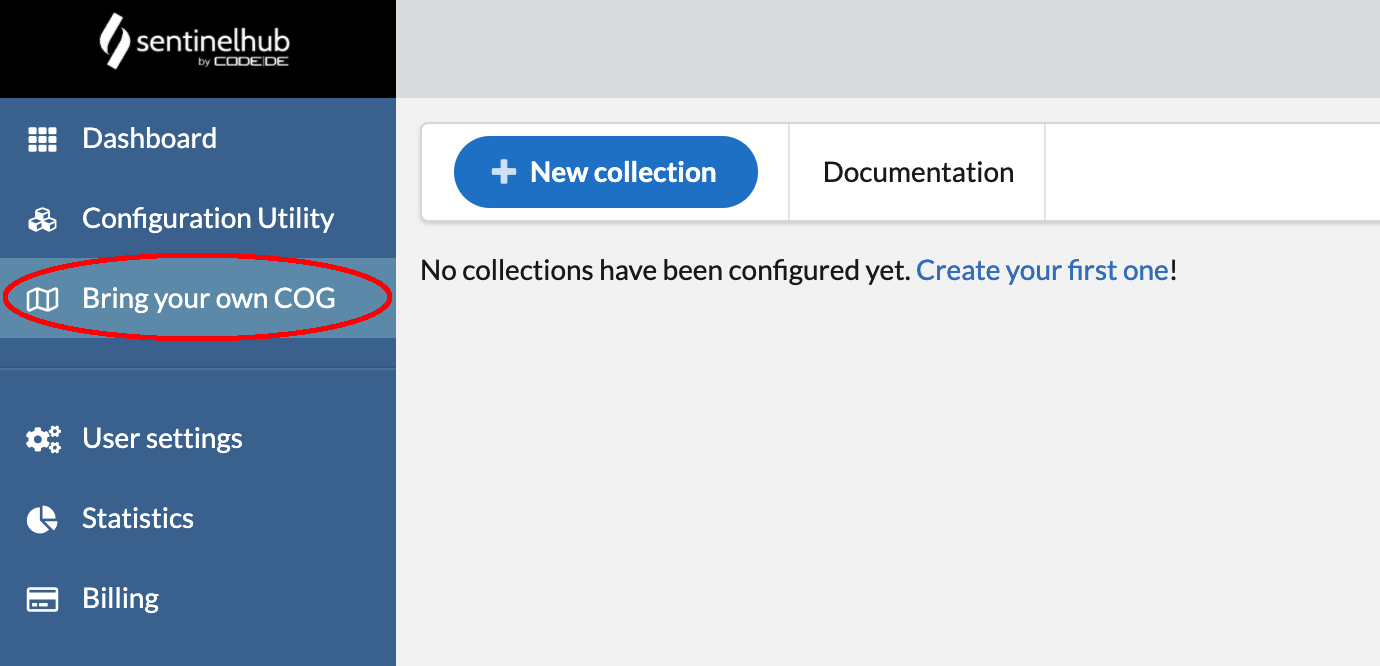
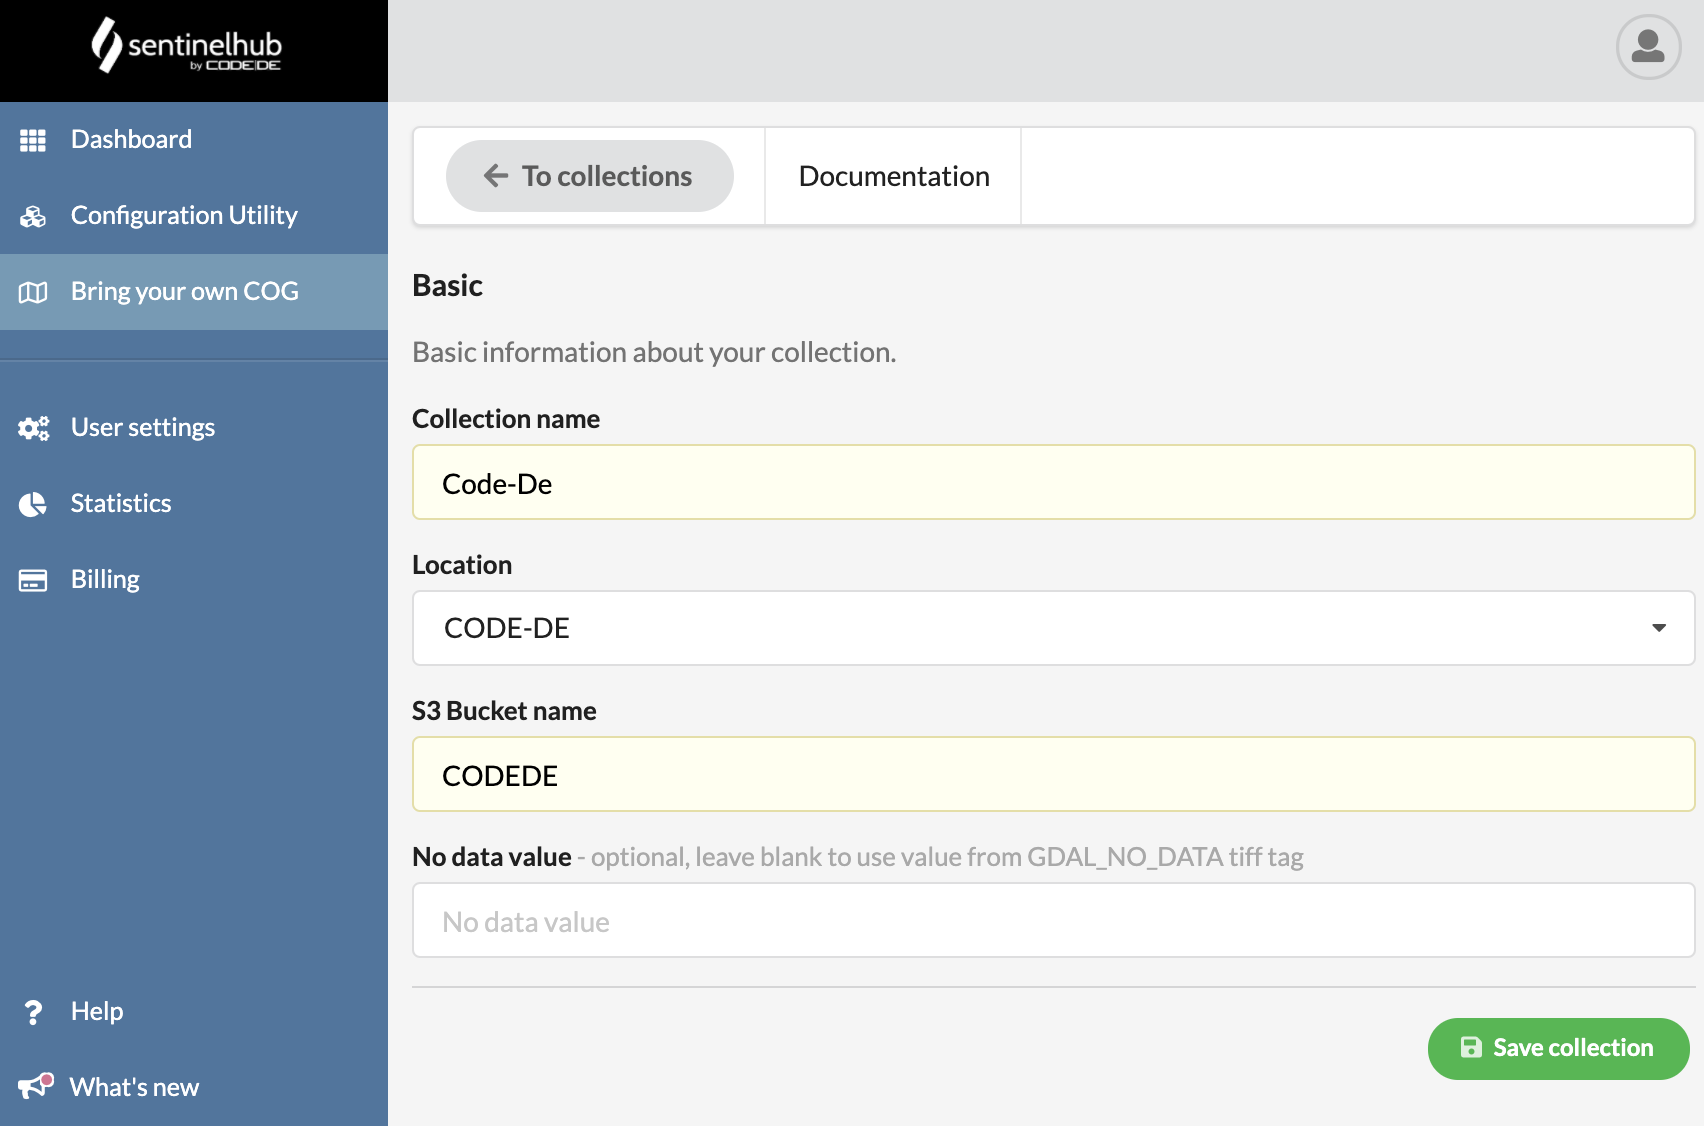
Select “New collection”. Fill in fields according to the following scheme:
Collection name: “CODE-DE” but can be your own name
Location: “Code-De”
S3 Bucket name: “CODEDE”
Save configuration with a green “Save collection” button.
You should see the new collection setup
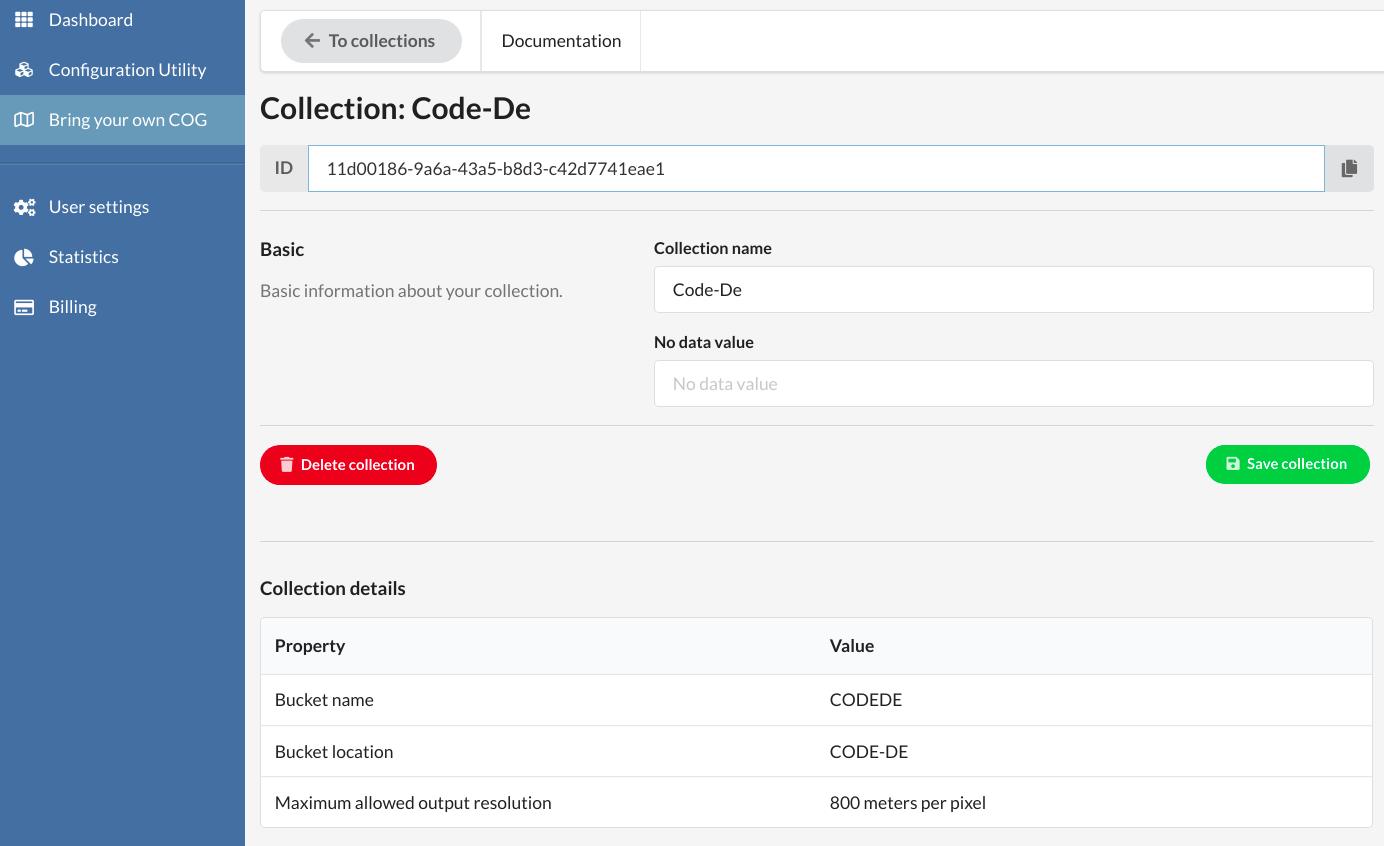
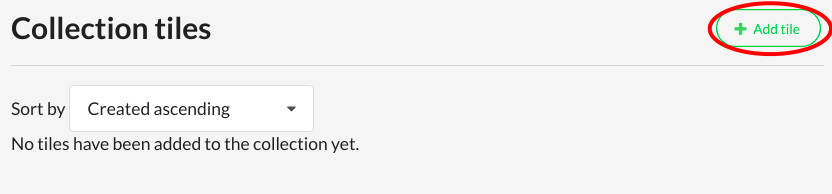
Next step is a “Collection tiles” creation. Select “Add tile”.
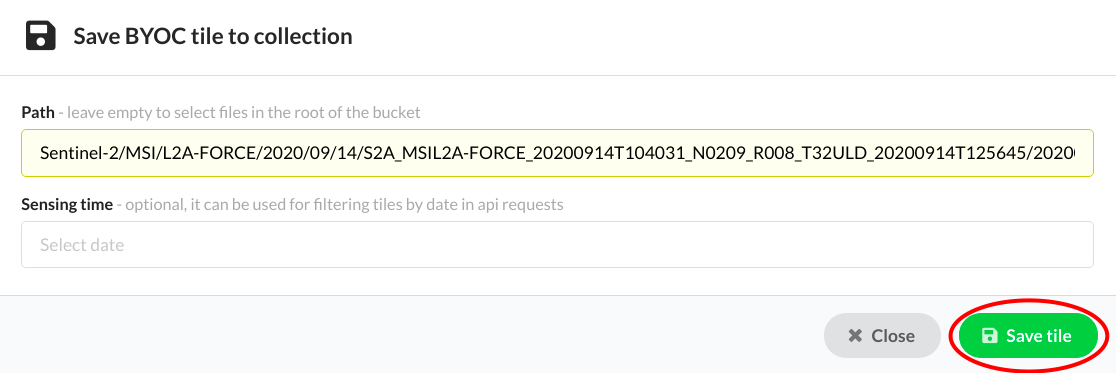
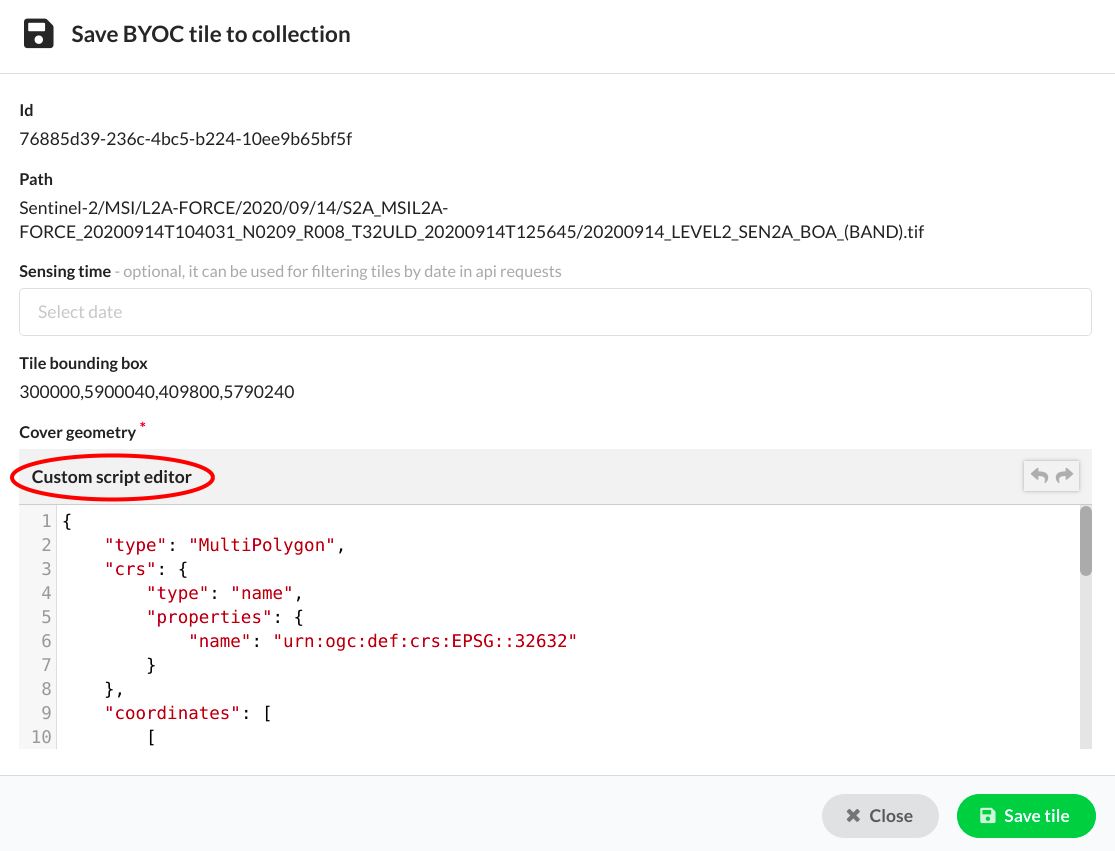
Provide a path to selected tile and save it.
Save the collection with the green button. You should have a status of the new collection tile changed to “INGESTED”.
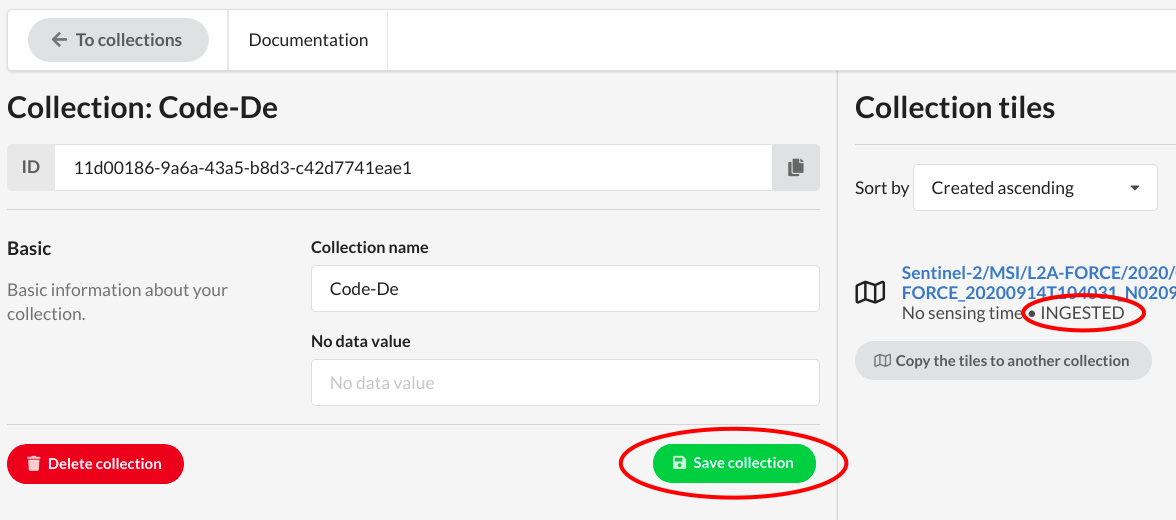
The ID of the collection will used soon in “Configuration Utility”.
Configuration Utility
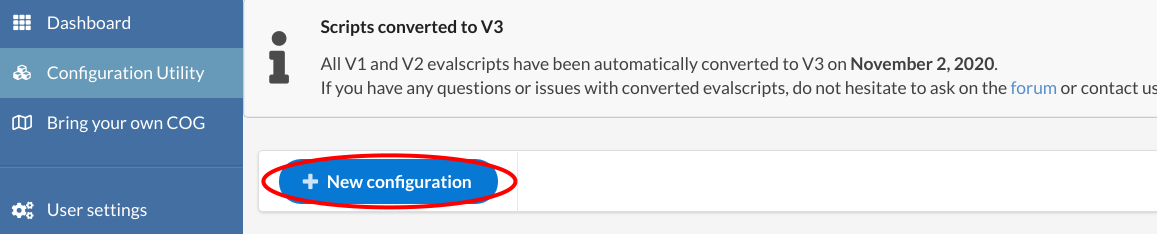
Navigate to “Configuration utility” on the left panel and select “New configuration”.
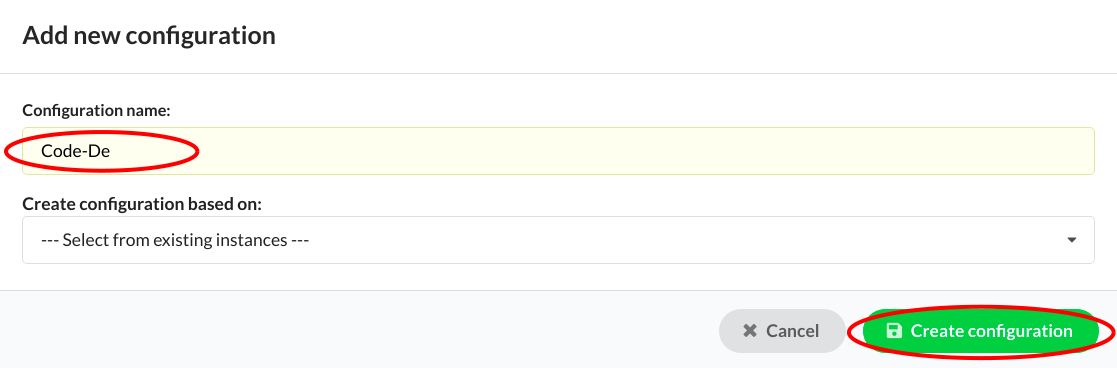
Give to a new configuration a name and save it with a green button.
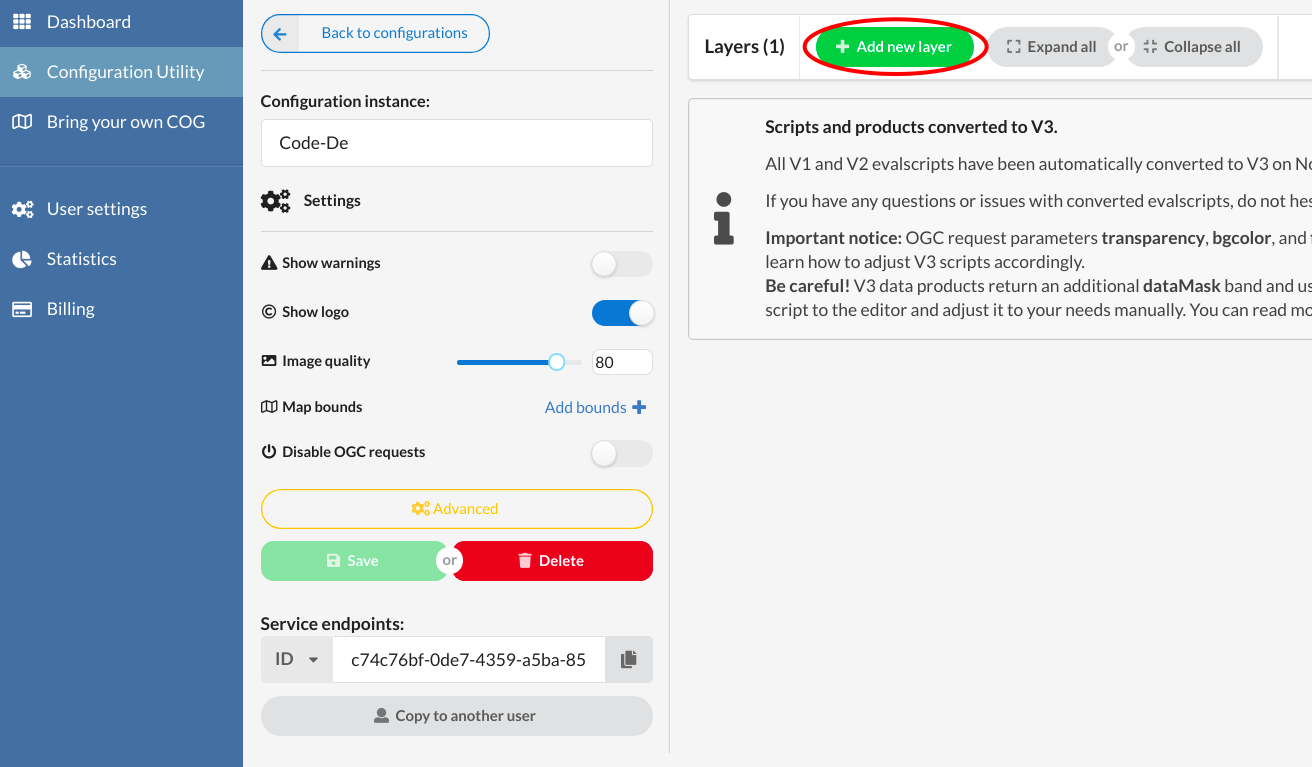
You will have a new configuration details panel with settings and layers tabs. Select “Add new layer” button.
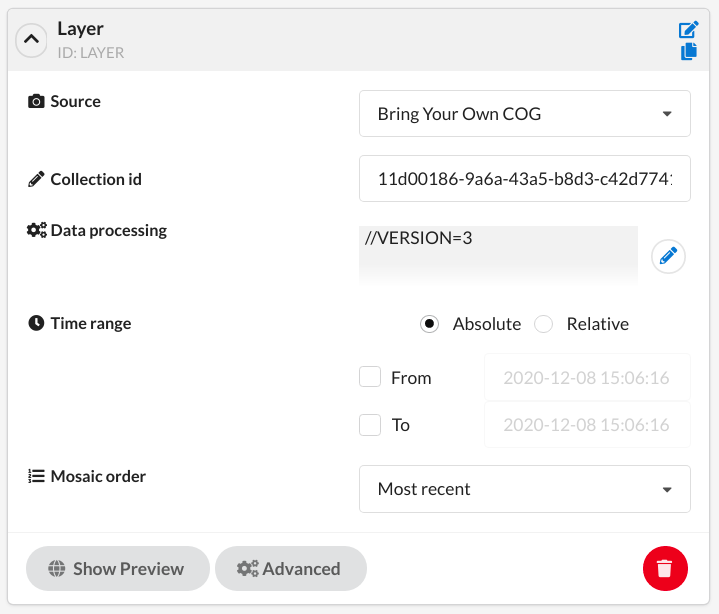
In the setup window provide a name for a layer. As a source select “Bring Your Own COG”. As a Collection id provide an id from created already collection.
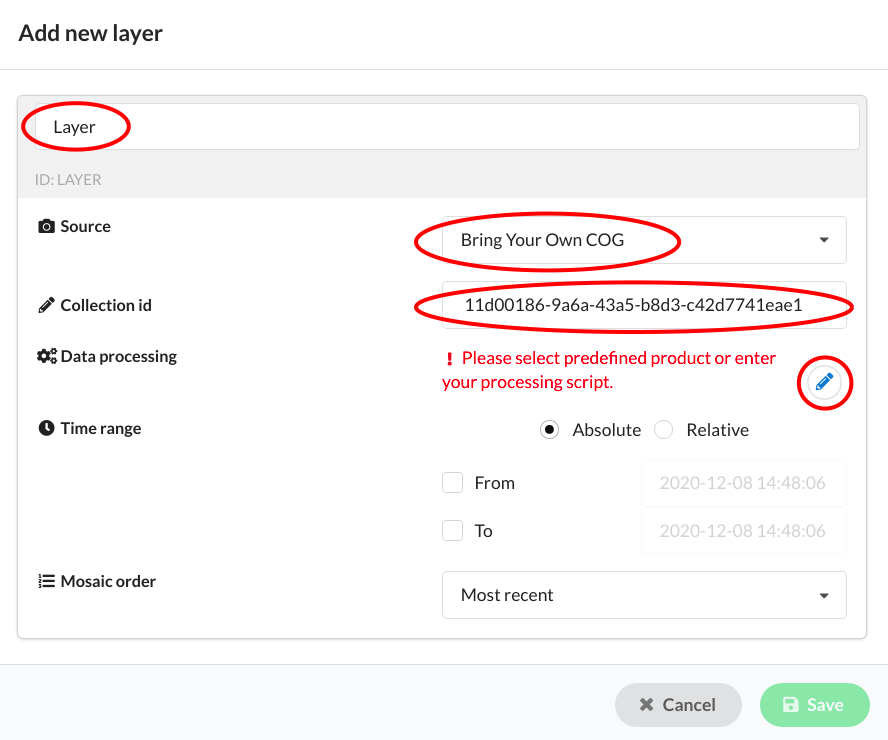
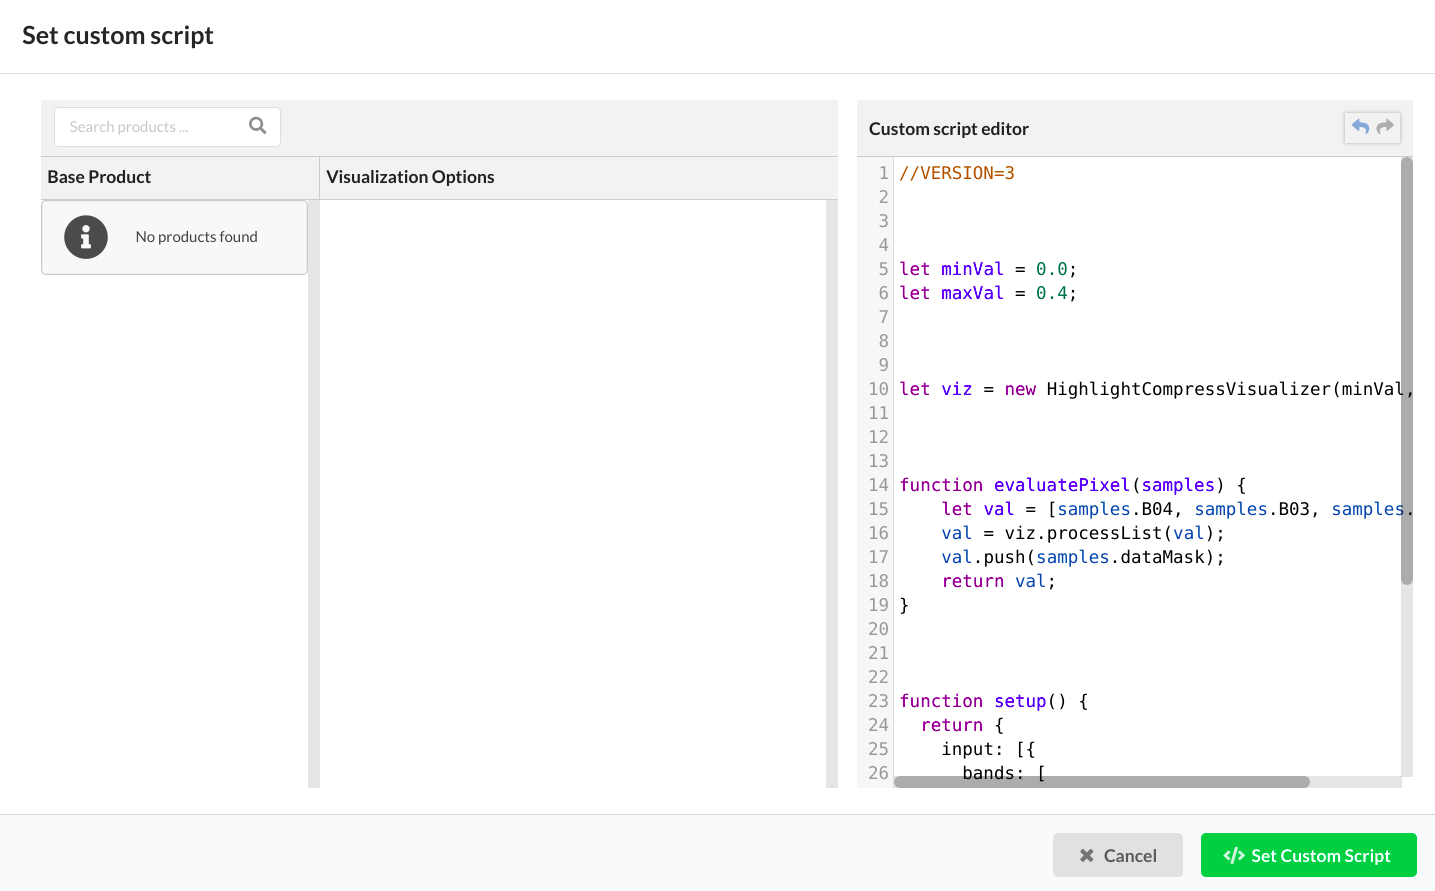
There is also a “Data processing” where you can put your script in a separate window. More information about custom scripts can be found on this link: Custom scripts.
Save the new layer. In the layers panel, there will be your new layer details displayed.
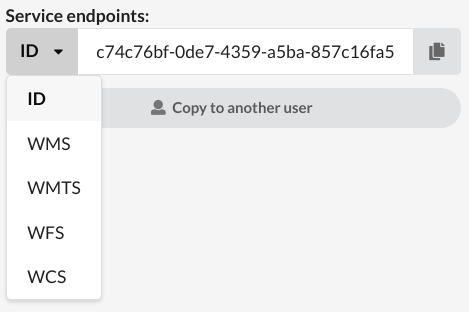
The configuration is ready. You can check possibilities of connecting to the service in the “Service endpoints” tab
The full description regarding setup possibilities of “Configuration Utility” can be found here, while “Bring your own COG” detailed documentation can be found here.