Wallets and Contracts Management
Use Wallets/Contracts in the CODE-DE-Lab Dashboard to review the billing arrangements available to your organization and manage Pay Per Use wallets.
Prerequisites
No. 1 Active account and organization
Wallet and contract management is performed in the CODE-DE-Lab Dashboard at https://tenant-manager.code-de.org. If necessary, follow Registration and Setting up an Account and Adding and editing an organization, then sign in with the organization that owns the billing arrangement.
No. 2 Organization administrator role
The Wallets/Contracts option is available to organization administrators. Review the permissions in Tenant Manager users and roles on CODE-DE-Lab and continue with the admin role active for the organization you intend to manage.
No. 3 Billing and project details
Identify the project that will use the wallet or contract and decide whether its expected usage requires Pay Per Use (PPU), Pay As You Go (PAYG), or Fixed Term billing. For a fund transfer, also identify the source and destination wallets and confirm that the source contains the amount to be transferred.
Open Wallets/Contracts
Sign in to the Dashboard at https://tenant-manager.code-de.org, then select Billing and Reporting → Wallets/Contracts.
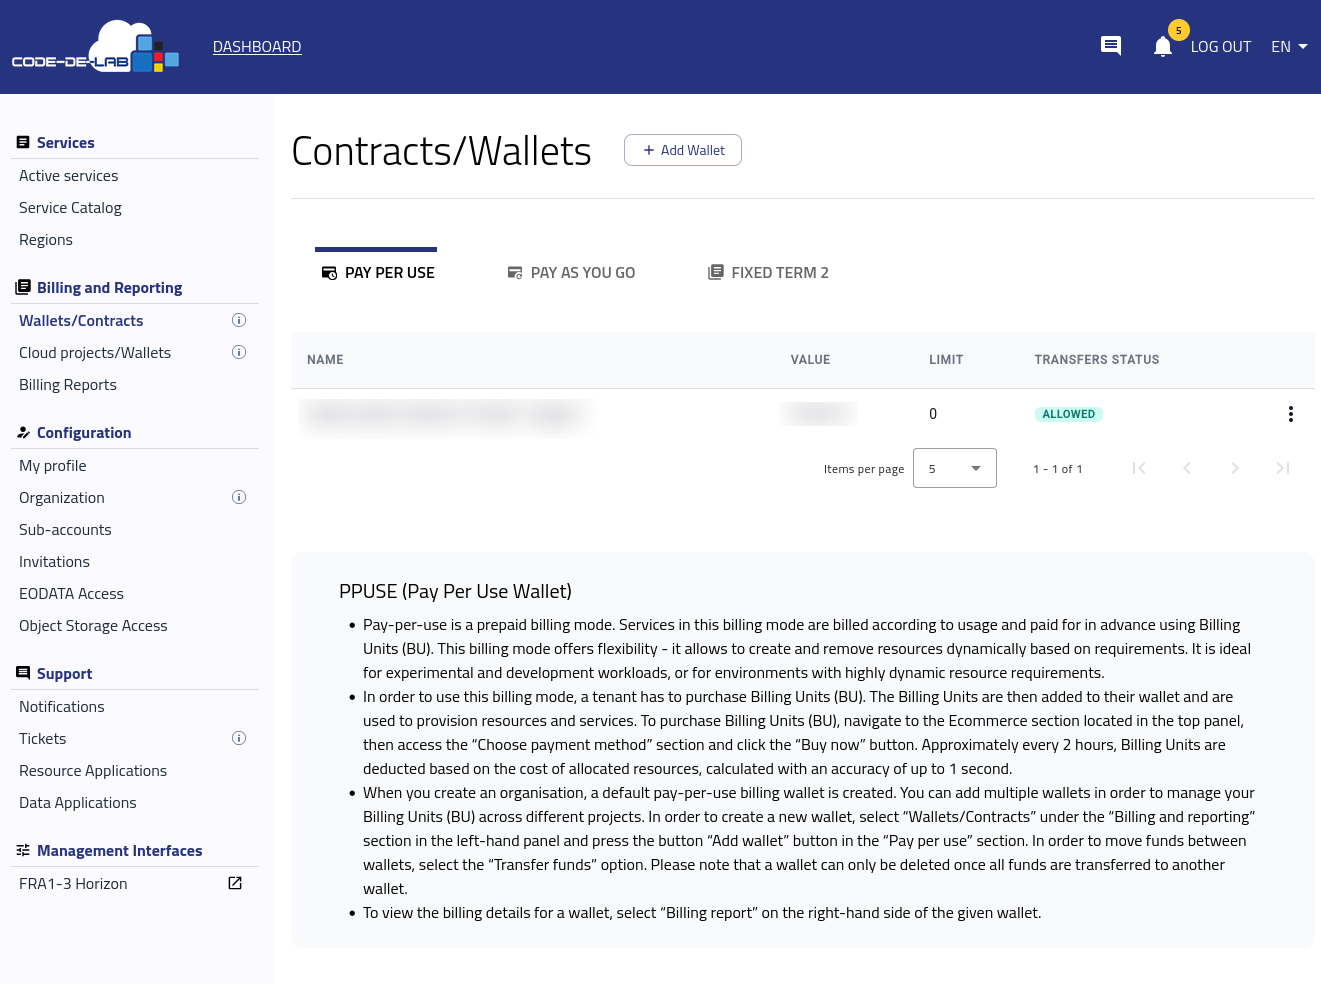
Wallets and contracts available to the organization.
The page separates billing arrangements into the PAY PER USE, PAY AS YOU GO, and FIXED TERM 2 tabs. The sections below use the terms PPU, PAYG, and Fixed Term consistently; the Dashboard also uses PPUSE as the heading for its Pay Per Use wallet description.
Billing modes
Pay Per Use (PPU)
Pay Per Use is a prepaid billing mode. An organization purchases credit in the form of Billing Units (BU), which are added to a wallet and used to provision and maintain resources and services. For price-list purposes, one BU is equivalent to one euro. Billing Units can be purchased through e-commerce or a written contract.
Approximately every two hours, the cost of the resources used is deducted from the wallet. Resource usage is calculated with an accuracy of up to one second. Because resources can be created and removed as needed, PPU is suitable for experimental or development work and environments with variable resource requirements.
Pay As You Go (PAYG)
Pay As You Go is a postpaid billing mode based on actual usage. The organization signs a written contract and is invoiced periodically, usually once a month, for the resources and services used during the agreed billing period. PAYG contracts are obtained through the sales department.
Except for Fixed Term orders, services and resources provisioned in projects assigned to the PAYG contract are included in the invoice. Usage is billed every two hours and calculated with an accuracy of up to two seconds.
Fixed Term
Fixed Term billing covers defined services for an agreed period. These arrangements can be purchased through e-commerce or a written agreement. The resources are paid for at the price and in the currency stated in the agreement and cannot be changed during the term. In exchange for that commitment, Fixed Term arrangements offer lower prices than flexible billing modes. This mode is intended for stable, long-term environments with predictable requirements.
For Fixed Term billing to apply to a service during a two-hour billing session, the contract must:
be active at the beginning of the session or when the resource is launched; and
remain active until the end of the billing session.
If either condition is not met, the service is billed using PPU or PAYG instead. If a Fixed Term contract is activated after a service has been launched, Fixed Term billing begins with the next billing session rather than immediately.
Manage Pay Per Use wallets
Add a wallet
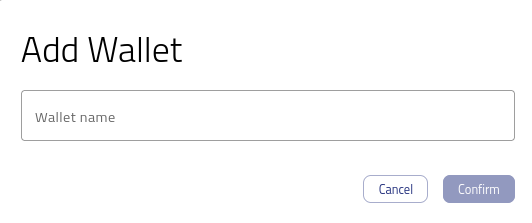
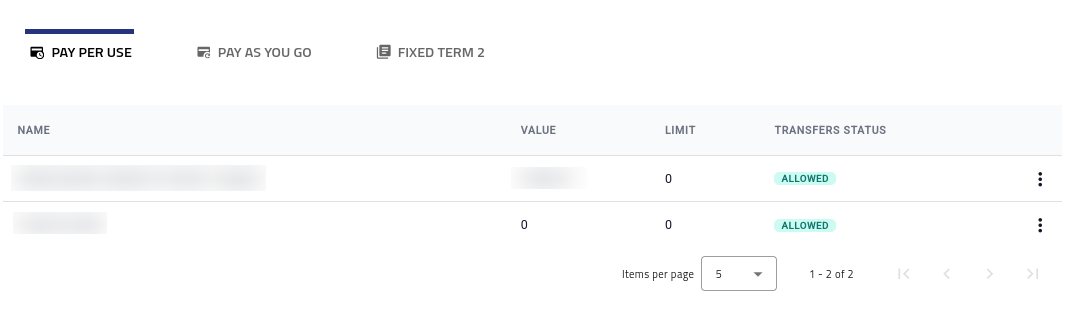
Open the wallet actions
Locate the wallet in the PAY PER USE tab, then open its three-dot actions menu.
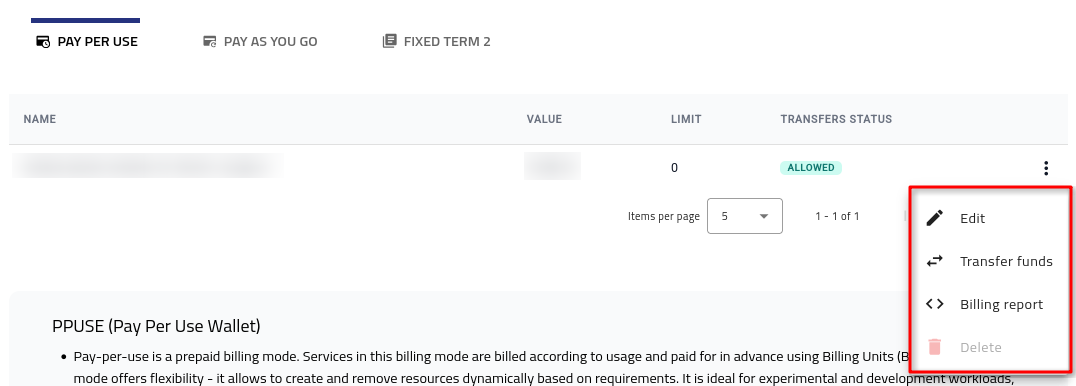
Pay Per Use wallet menu.
The menu provides the Edit, Transfer funds, Billing report, and Delete actions.
Edit a wallet name
Open the wallet’s actions menu and select Edit. The Edit Wallet dialog opens.
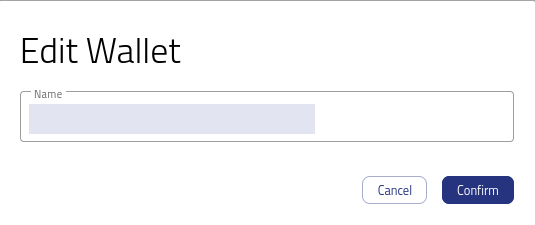
Edit Wallet dialog.
Change the value in the Name field.
Select Confirm.
Transfer funds
Open the source wallet’s actions menu and select Transfer funds.
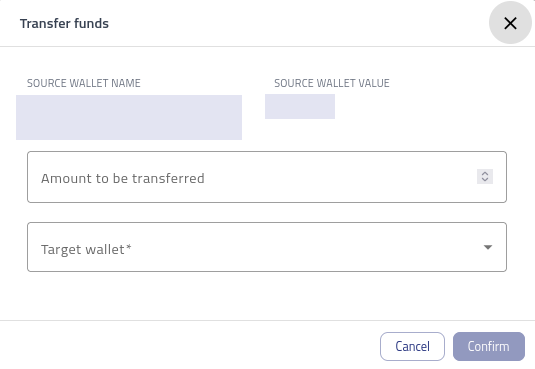
Transfer funds to another wallet.
Enter the amount to transfer.
Open Target wallet and select the destination wallet.
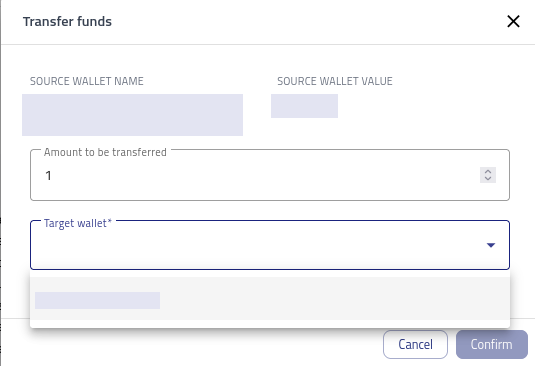
Select the destination wallet.
Select Confirm.
The wallet list shows the transferred amount in the destination wallet.
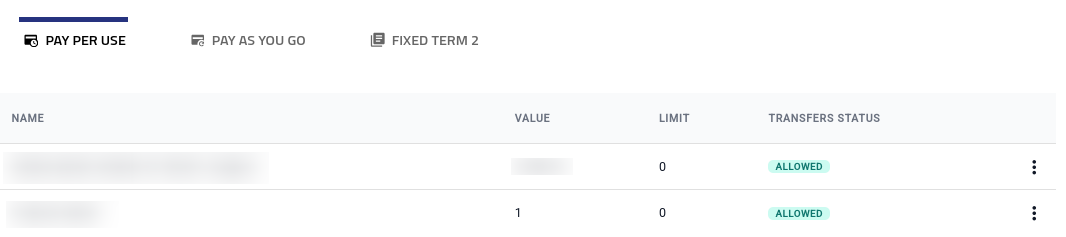
Destination wallet after receiving the transferred funds.
Review wallet charges
Open the wallet’s actions menu and select Billing report. This opens the wallet-specific Chargelogs Aggregated Report.
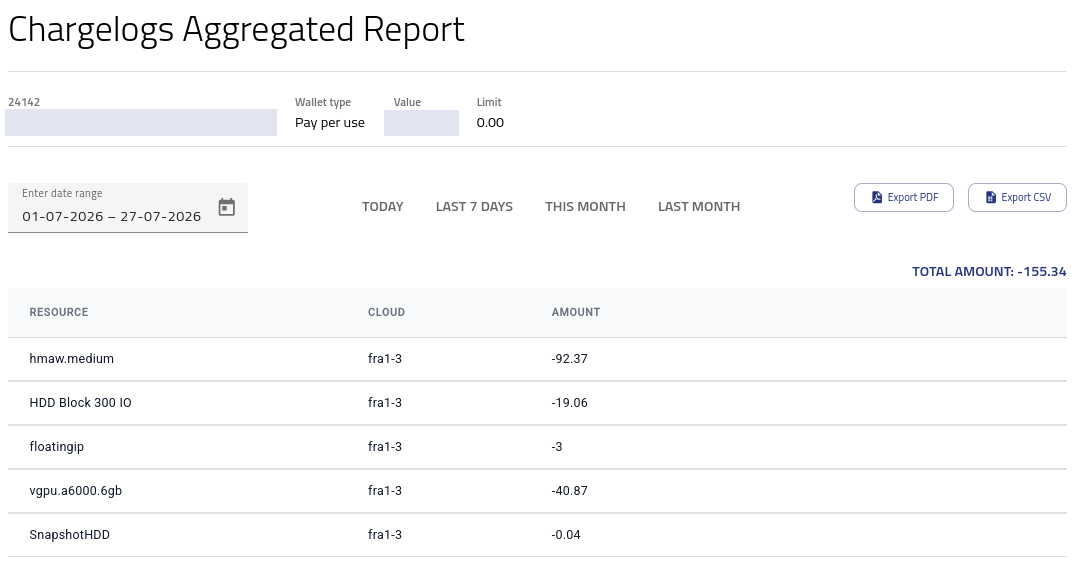
Chargelogs Aggregated Report.
Select a date range manually or use one of the available presets.
Review the charges and total amount for the selected period.
Select Export PDF to create a document or Export CSV to use the data in spreadsheet software.
Delete a wallet
A wallet can be deleted only when its Value is 0. Transfer any remaining funds to another wallet before continuing.
Locate the zero-value wallet and open its actions menu. The Delete action is now available.
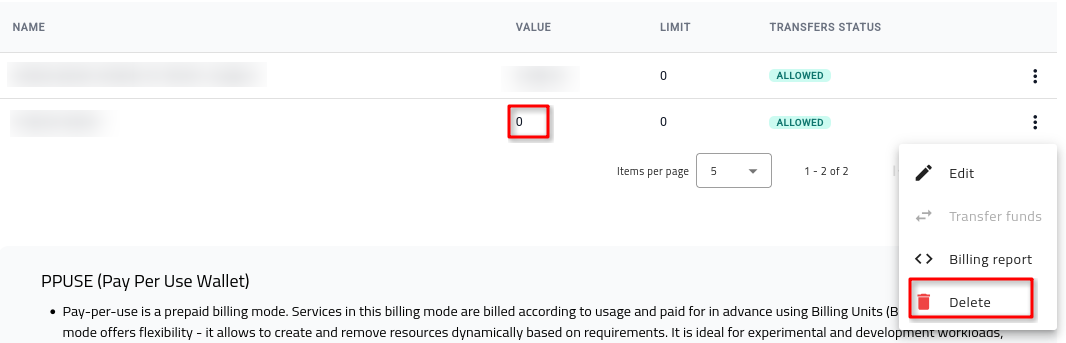
Delete is available for a wallet with a value of 0.
Select Delete. A confirmation dialog opens.
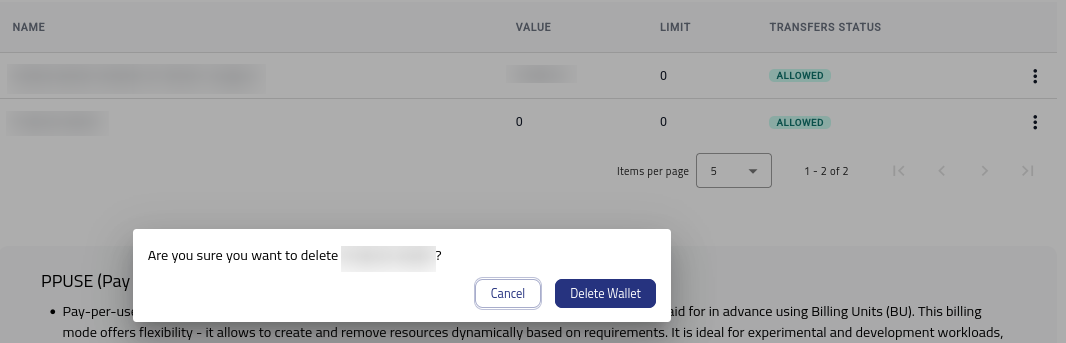
Confirm wallet deletion.
Select Delete Wallet.
The wallet is removed from the list, and the number of listed wallets decreases by one.
What to do next
To obtain a PAYG contract, create a request through Help desk and support.
After the required wallet or contract is available, use Accounts and Projects Management on CODE-DE-Lab to assign it to the intended project. For a project-level breakdown of usage and costs by product or individual resource, use Billing reports on CODE-DE-Lab.